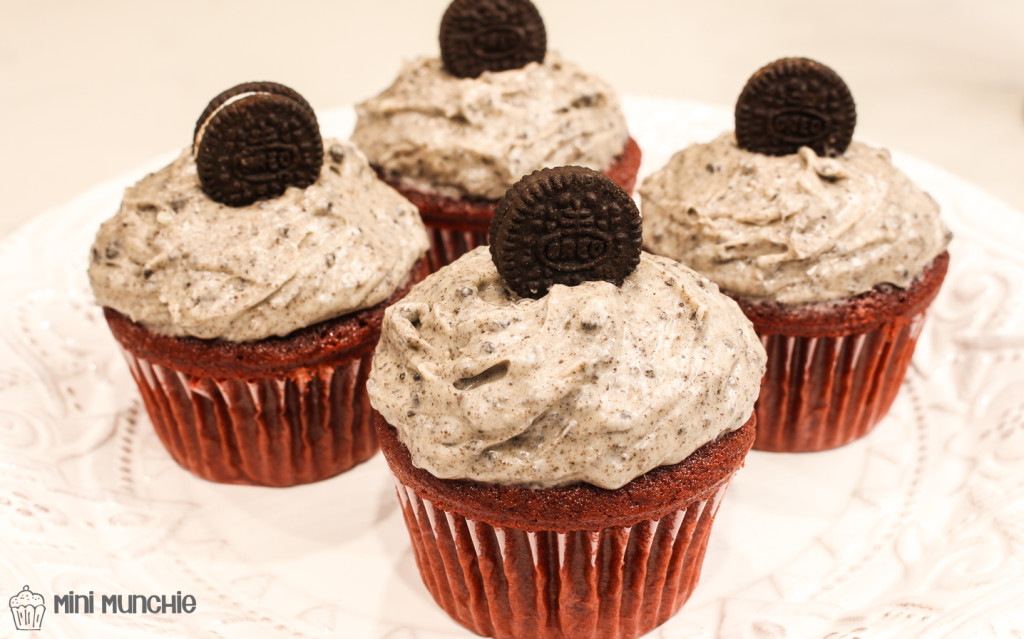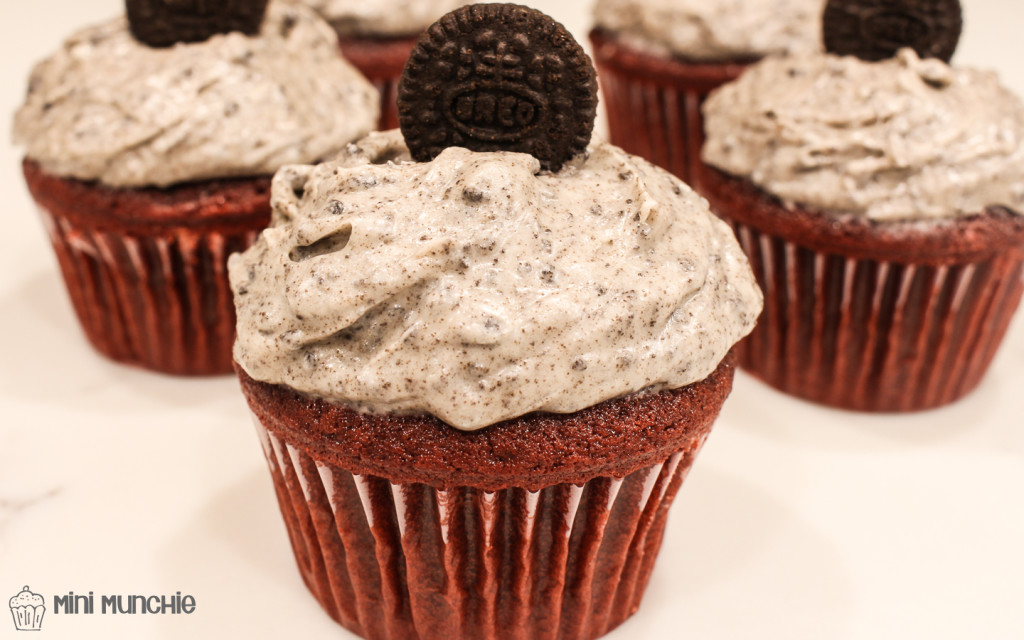
These are the smoothest red velvet cupcakes I have made, also super moist. Red velvet cupcakes are typically topped with white frosting to accentuate the red color of the cake. It’s really pretty that way, but I frosted these cakes with Oreo cheesecake frosting instead and they paired really well with the cakes and tasted delicious. If you prefer a lighter frosting, you can also try using vanilla bean buttercream frosting.
I have always been curious about the red color and there are actually several myths about the origins of red velvet cakes and the red coloring. Several people claimed that a chemical reaction between baking soda and cocoa powder creates red hues in the cakes. Other theories state that the red coloring stems from the acidity in vinegar from buttermilk (some recipes use this) causing a reaction with cocoa powder. For a while I thought these scientific explanations were true but they have not been proven in experiments so apparently they may not be! Instead, this may have all started a long time ago as a marketing tactic to increase sales of food coloring but I won’t know until I do my own experiment.
During the 1920s, people were using less food coloring to save money during the Great Depression. As an effort to improve declining sales, a food coloring extract company introduced the red velvet cake recipe, which required a copious amount of red food coloring. Red velvet cakes became very popular after the company handed out free recipe cards at groceries stores. Pretty clever right? There is another myth that red velvet cakes originated from a chef who served it at the New York’s Waldorf-Astoria Hotel. Regardless of which of these stories is true, I’m glad it was created and it’s always been a popular cupcake among my friends. The cake is just not the same without the red color. The amount of food coloring in the recipe may seem like a lot but trust me you’ll need all of that to get the redness you see in these photos, don’t skimp on the food coloring!

Red Velvet cupcakes (12 cupcakes)
1 c +3 Tbsp all purpose flour
1/4 c cocoa powder, unsweetened
1/2 tsp baking soda
1/4 tsp salt
1/2 c unsalted butter, room temperature
1 c + 2 Tbsp granulated sugar
2 eggs
1/2 c sour cream
1/4 c milk
1 tsp lemon juice
1/2 oz red food coloring
2 tsp vanilla extract
- Preheat the oven to 350F.
- In a large bowl, mix the dry ingredients: flour, cocoa powder, baking soda, and salt.
- In a medium bowl, mix the wet ingredients: sour cream, milk, lemon juice, vanilla extract, and food coloring.
- In an electric mixer, beat butter and sugar for about 2 minutes in medium speed.
- As the electric mixer continues is running, beat in one egg at a time. Then add wet ingredients and continue to beat under combined.
- Turn the electric mixer to a lower speed and gradually add in the dry ingredients.
- Fill each muffin cup to 2/3 full and bake for 18-22 min. Stick a tooth pick in the middle of one cupcake at 18 minutes to check for readiness.
Oreo Cheesecake Frosting (frosting for 12 cupcakes)
8 oz cream cheese, room temperature
1/4 c unsalted butter, room temperature
3 c powdered sugar (or more if you want a stiffer frosting)
1/2 tsp vanilla extract
3/4 c mini Oreos, crushed, a few extra mini Oreos for topping
- In an electric mixer, beat cream cheese and butter until smooth.
- Mix in powdered sugar, one cup at a time. Adding extra if you would like a frosting that is more stiff.
- Add vanilla extract to the mixture.
- Add crushed Oreos and mix until combined.
- The mini Oreos are super cute as a topping but I recommend putting them on right before serving as they get soggy really quickly.
Leave a Reply